UITableViewを使いを表示してセルがタップされたら詳細画面に遷移。詳細画面からは一覧画面に戻れるナビゲーションができるような遷移です。
Master-Detail Applicationのテンプレート使うと一瞬で作ってくれるのですけども何が起きてるかよくわからないので自分で作ります。
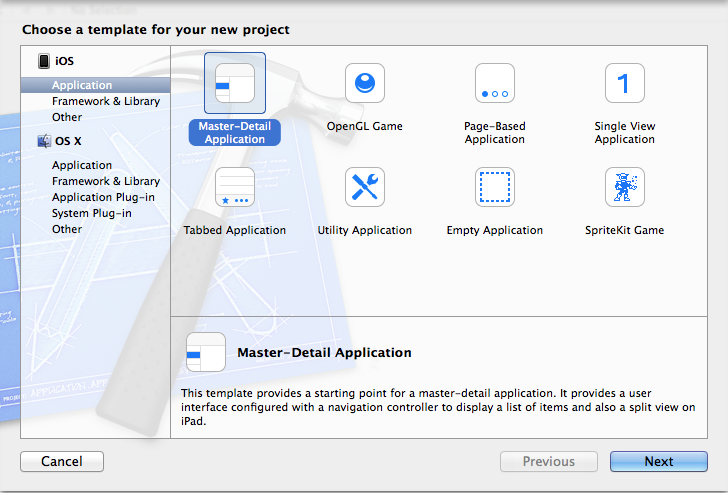
Master-Detail Applicationってこれです。
作り方
1. プロジェクト作成
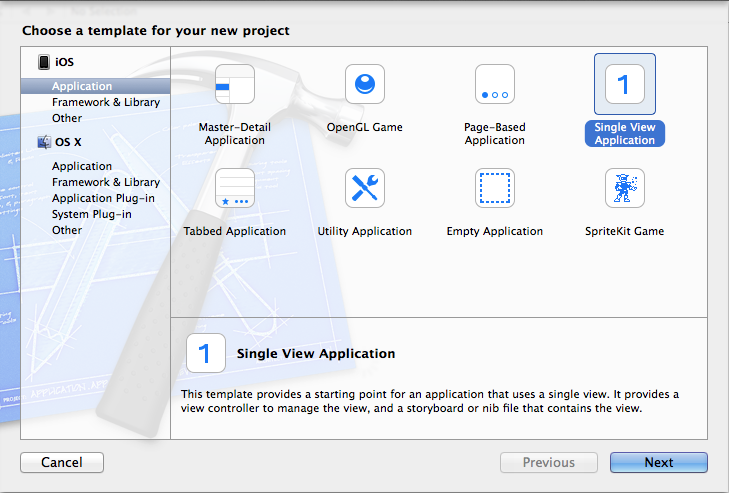
SingleViewApplicationのテンプレート使って作成します。
2. StoryBoardでNavigationControllerを追加
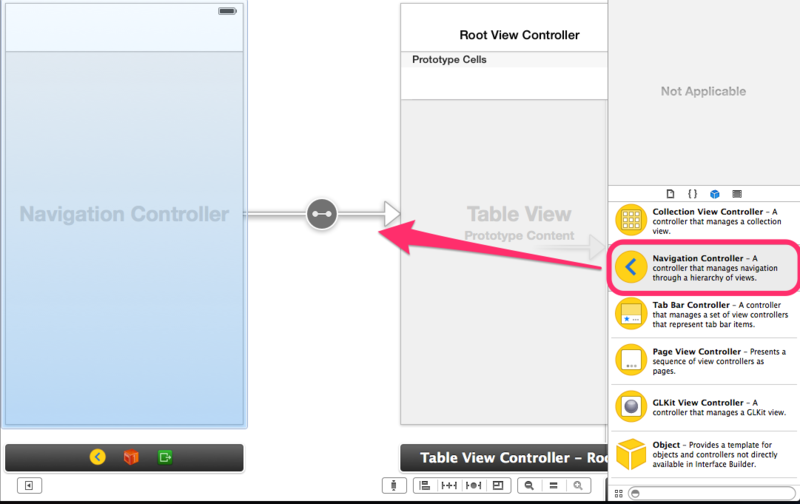
デフォルトでViewControllerが1つあると思うんですがこれは詳細画面に使おうと思うのでそのままで、ObjectLibraryからNavigationControllerを追加します。TableViewControllerもおまけでついてきます。
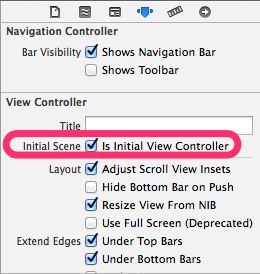
追加されたらNavigationControllerをInitialViewControllerにします。
3. TableViewControllerに対応したClass作成
StoryBoardに追加した物をソースコードで操作するには関連付けが必要なんです。今回はUITableViewControllerのサブクラスを作成します。
ProjectNavigatorのディレクトリを右クリック>NewFileを選択。
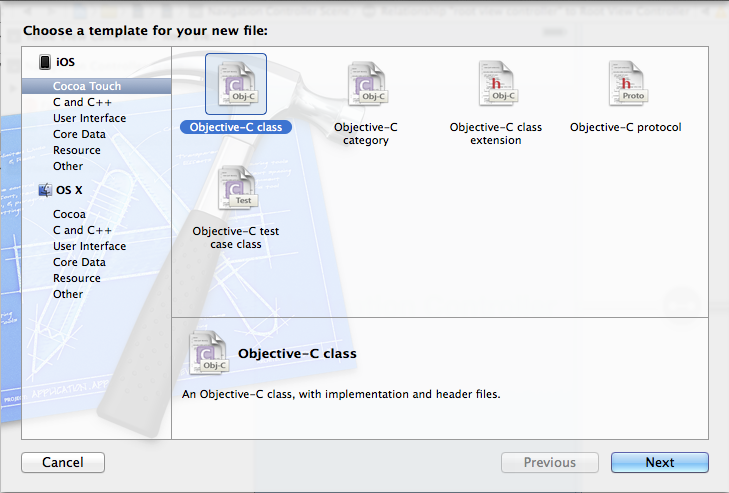
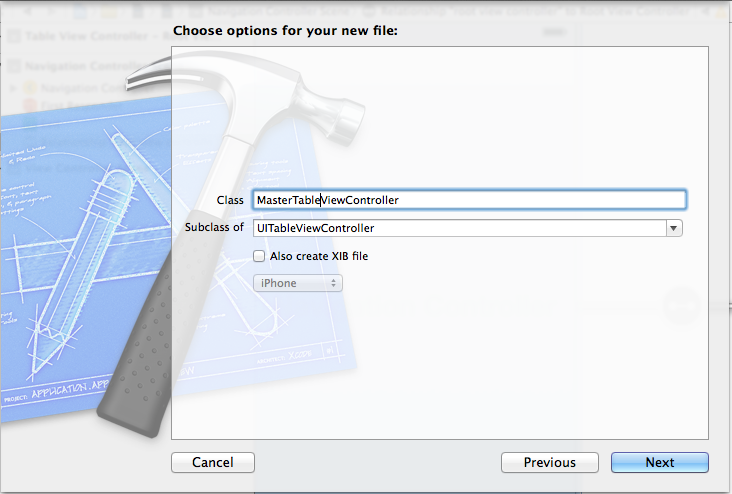
まあこんな感じでMasterTableViewControllerという名前で作ります。
4. 関連付け
TableViewControllerを選択した状態でIdentityinspecterのCustomClassに先ほど作ったMasterTableViewControllerを設定します。
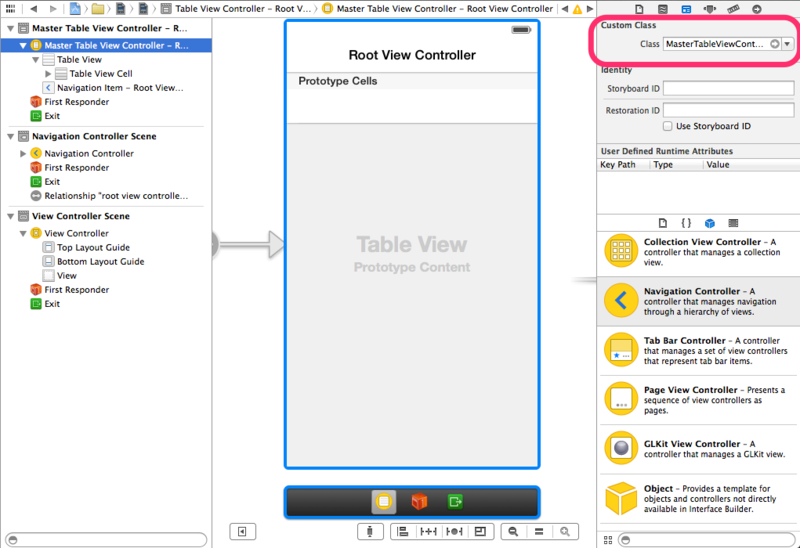
5. UITableViewにデータを表示
UITableViewにデータを表示してみます。MasterTableViewController.mを編集します。UITableViewControllerのサブクラスとして作っているのでメソッドの雛形が書かれているはずです。
1つセルがあればいいので両方1にしてwarningを消します。
- (NSInteger)numberOfSectionsInTableView:(UITableView *)tableView
{
    // Return the number of sections.
    return 1;
}

- (NSInteger)tableView:(UITableView *)tableView numberOfRowsInSection:(NSInteger)section
{
    // Return the number of rows in the section.
    return 1;
}
続いてcellForRowAtIndexPathでセルの設定をします。なんでもいいのでhogeと表示します。
- (UITableViewCell *)tableView:(UITableView *)tableView cellForRowAtIndexPath:(NSIndexPath *)indexPath
{
    UITableViewCell *cell = [tableView dequeueReusableCellWithIdentifier:@"Cell" forIndexPath:indexPath];
    cell.textLabel.text = @"hoge";

    return cell;
}
Identifierを設定しておく必要がありますのでUITableViewCellのIdentifierに"Cell"を設定します。
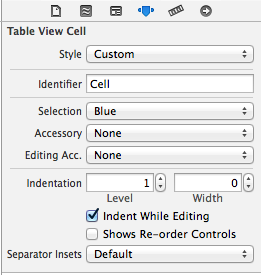
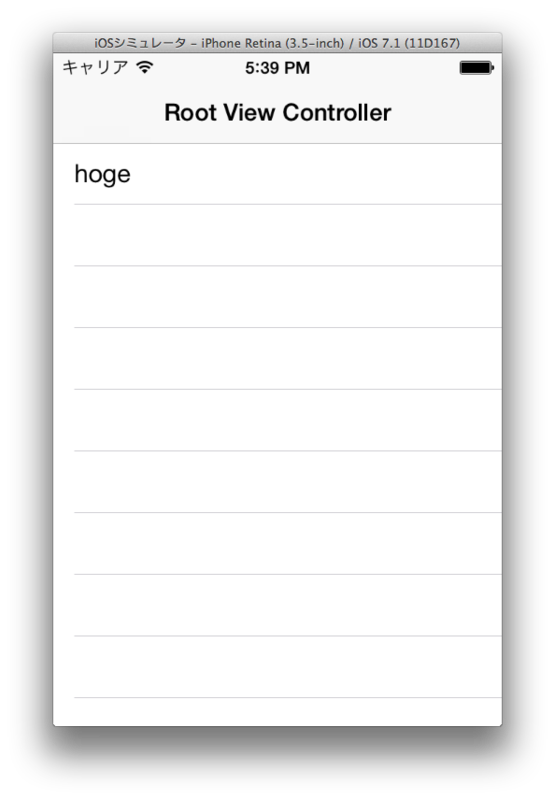
シミュレータを起動するとこんな感じになります。

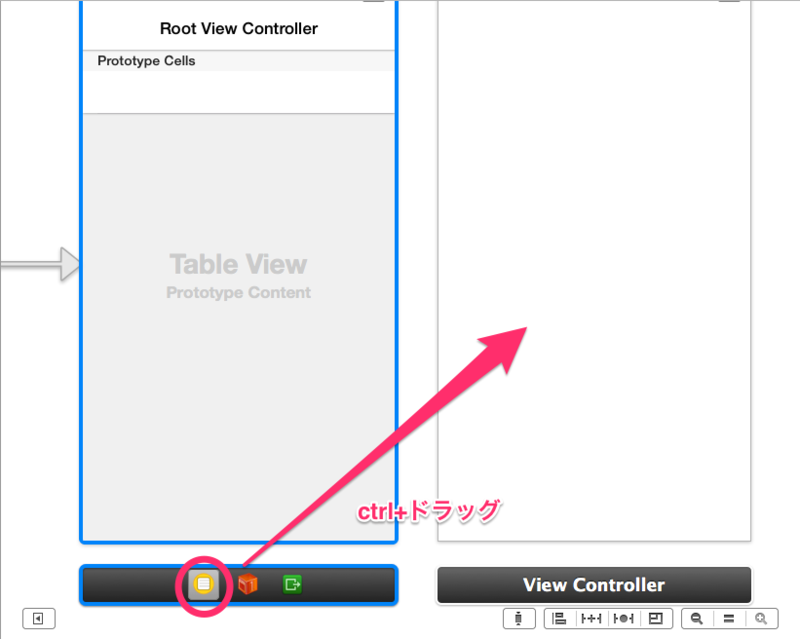
6. Segueを設定
下記の通りドラッグアンドドロップするとウィンドウが表示されますのでpushを選択するとSegueができます。
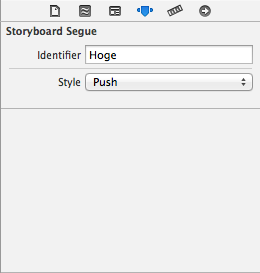
SegueにIdentifierを設定します。Segueを選択した状態でAttributesInspecterから設定します。Hogeにしときます。
7. セルを選択した時の動作
MasterTableViewController.mにdidSelectRowAtIndexPathを実装します。これはセルをタップした際に呼ばれます。
先ほど設定したIdentifierを指定してperfoemSegueWithIdentifierを使います。
-(void)tableView:(UITableView *)tableView didSelectRowAtIndexPath:(NSIndexPath *)indexPath
{
     [self performSegueWithIdentifier:@"Hoge" sender:self];
}
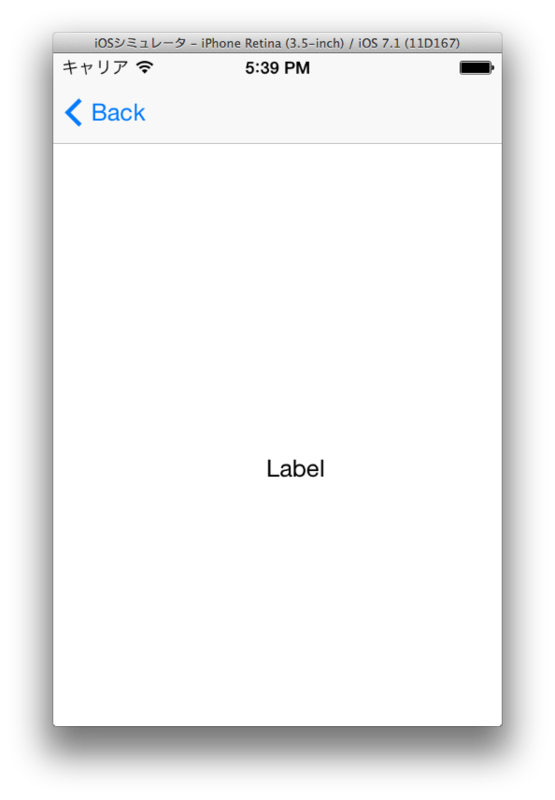
完成
感想
難しいですね。